MAME on OpenEmu

If like me, you decided to try out OpenEmu and then thought you’d like to try running MAME games but couldn’t get it going with other guides, try this. I didn’t worry about losing saved states.

Find OpenEmu in the Applications folder (or wherever you keep your apps) and move it to the the trash.

Use the shortcut ⌘ ⇧ G to go to a folder.

~/Library

Find the OpenEmu folder in the Application Support folder and move it to the trash. (Don’t empty trash yet). There was another OpenEmu folder in there too which I moved to the trash.

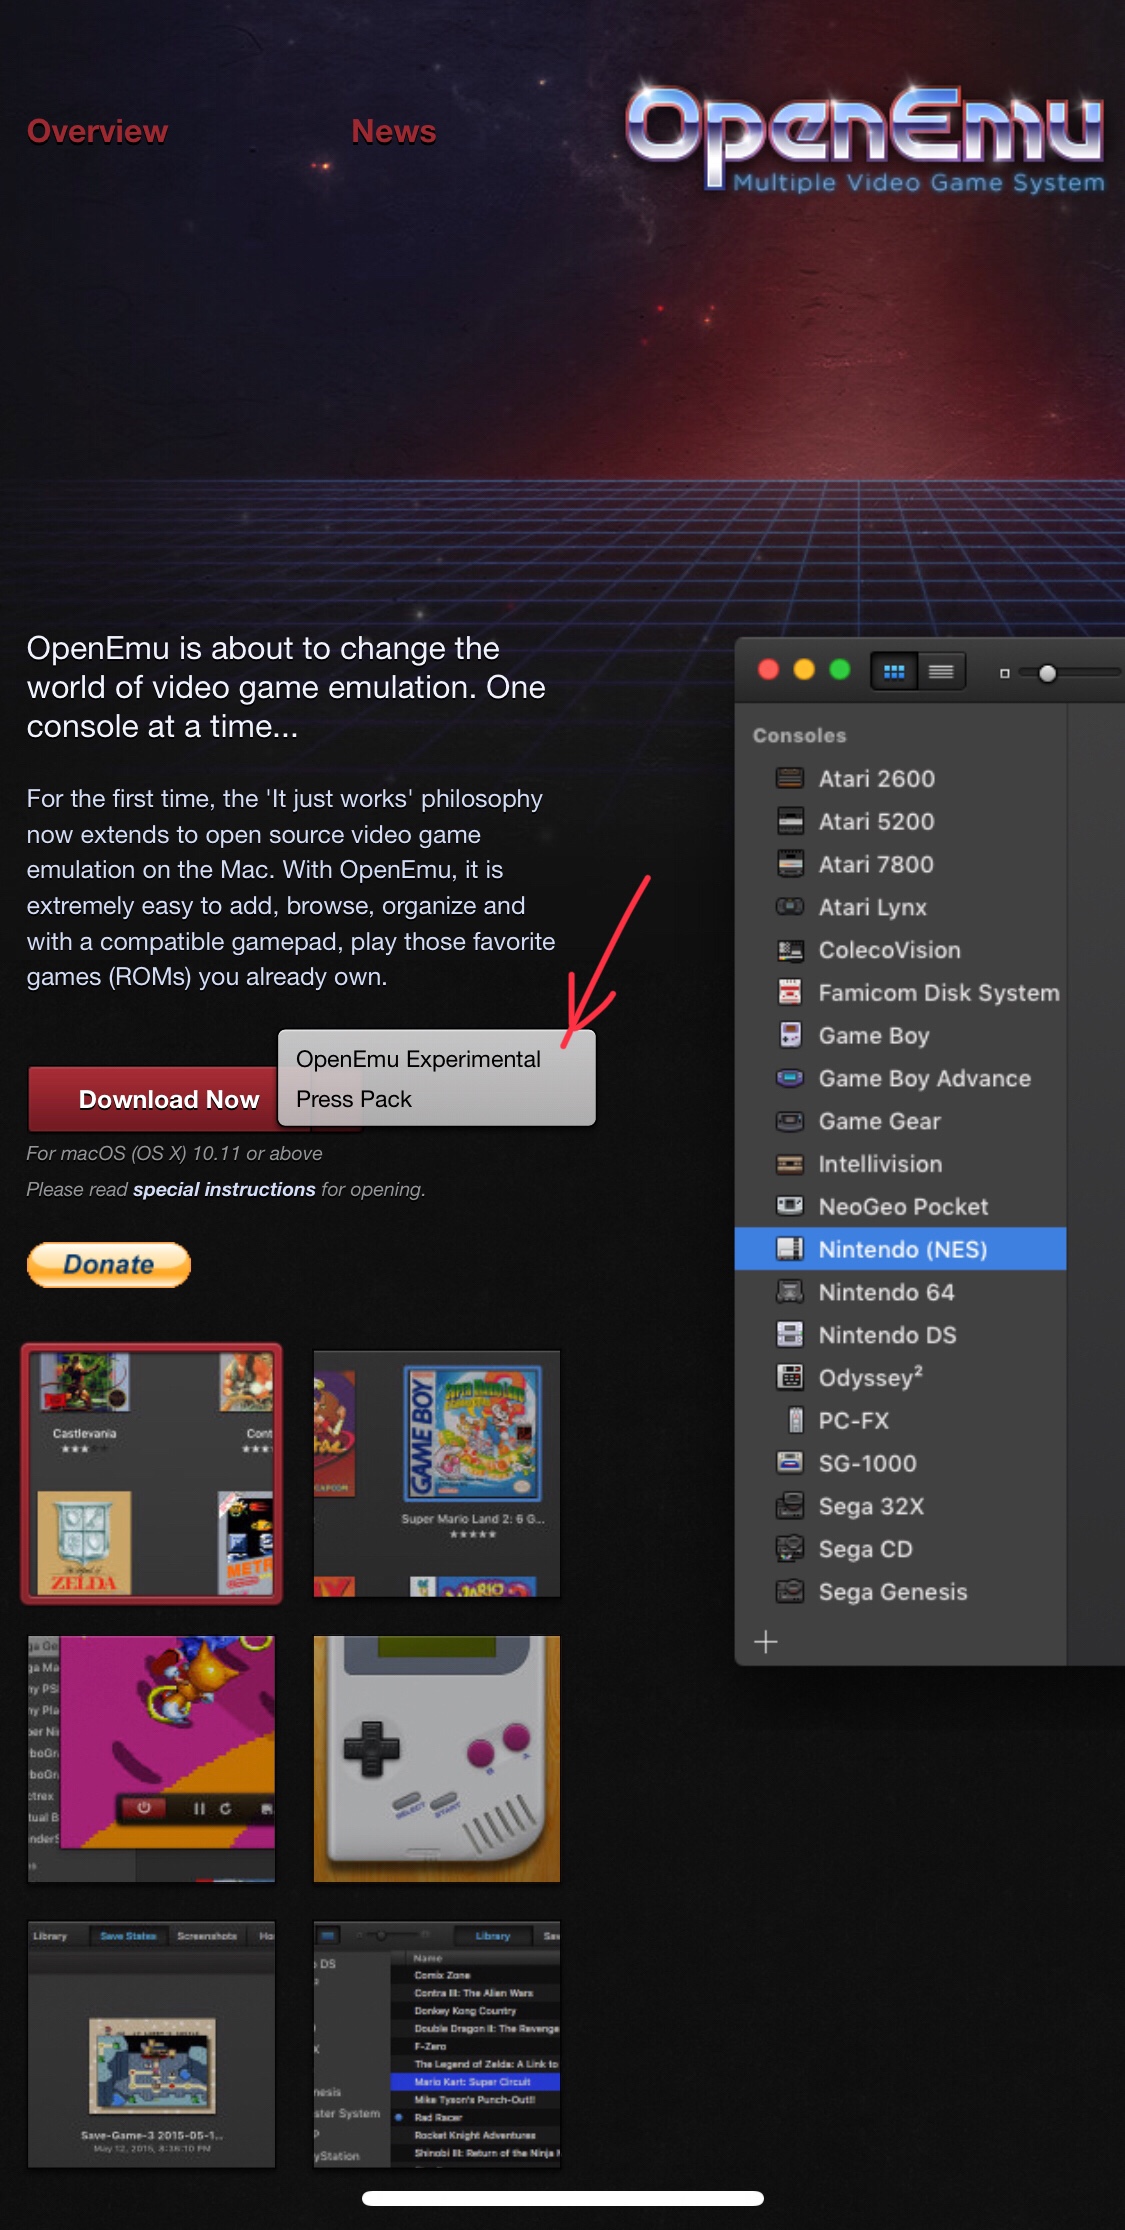
Download the OpenEmu Experimental version by clicking the disclosure triangle on the right end of the download button at http://openemu.org/

Move OpenEmu to the Applications folder.

Open OpenEmu

Open Preferences > Cores

Install the Cores you want.

Find your ROMs in the OpenEmu folder now in the Trash, and drag them bag to the new OpenEmu.

Make sure the MAME ROMs are .zip compressed.

Setting up nginx on Ubuntu for parse-server

Before You Begin

  1. Check for updates
    sudo apt-get update && sudo apt-get upgrade

Install nginx

  1. Install nginx
    sudo apt-get install -y nginx
  2. Decide how you want to access parse:
    a. example.com/parseapp/
    b. parseapp.example.com/ (don’t forget to add an A record for parseapp pointing to the IP address and include subdomain in Let’s Encrypt certificates)

Setup nginx for example.com/parseapp/

  1. Change directory
    cd /etc/nginx/sites-enabled/
  2. Open default
    sudo nano default
  3. Select all
    ctrl+shift+6
    ↓↓↓↓ to the bottom
    ctrl+K
  4. Paste the following in, changing example.com, parseapp, and portnumber
    # HTTP - redirect all requests to HTTPS
    server {
        listen 80;
        listen [::]:80 default_server ipv6only=on;
        return 301 https://\$host\$request_uri;
    }
    
    # HTTPS - serve HTML from /usr/share/nginx/html, proxy requests to /parse/
    # through to Parse Server
    server {
            listen 443;
            server_name example.com;
    
            root /usr/share/nginx/html;
            index index.html index.htm;
    
            ssl on;
            # Use certificate and key provided by Let's Encrypt:
            ssl_certificate /etc/letsencrypt/live/example.com/fullchain.pem;
            ssl_certificate_key /etc/letsencrypt/live/example.com/privkey.pem;
            ssl_session_timeout 5m;
            ssl_protocols TLSv1 TLSv1.1 TLSv1.2;
            ssl_prefer_server_ciphers on;
            ssl_ciphers 'EECDH+AESGCM:EDH+AESGCM:AES256+EECDH:AES256+EDH';
    
            # Pass requests for example.com/parseapp/ to parse-server instance at localhost:portnumber
    
            location /parseapp/ {
                    proxy_set_header X-Real-IP \$remote_addr;
                    proxy_set_header X-Forwarded-For \$proxy_add_x_forwarded_for;
                    proxy_set_header X-NginX-Proxy true;
                    proxy_pass http://localhost:portnumber/parse/;
                    proxy_ssl_session_reuse off;
                    proxy_set_header Host \$http_host;
                    proxy_redirect off;
            }
            location / {
                    try_files \$uri \$uri/ =404;
            }
    }
  5. Save and exit
  6. Restart nginx
    sudo service nginx restart

Setup nginx for parseapp.example.com/

  1. Change directory
    cd /etc/nginx/sites-enabled/
  2. Open default
    sudo nano default
  3. Select all
    ctrl+shift+6
    ↓↓↓↓ to the bottom
    ctrl+K
  4. Paste the following in, changing example.com, parseapp, and portnumber
    # HTTP - redirect all requests to HTTPS
    server {
        listen 80;
        listen [::]:80 default_server ipv6only=on;
        return 301 https://\$host\$request_uri;
    }
    
    # HTTPS - serve HTML from /usr/share/nginx/html, proxy requests to /parse/
    # through to Parse Server
    server {
            listen 443;
            server_name example.com;
    
            root /usr/share/nginx/html;
            index index.html index.htm;
    
            ssl on;
            # Use certificate and key provided by Let's Encrypt:
            ssl_certificate /etc/letsencrypt/live/example.com/fullchain.pem;
            ssl_certificate_key /etc/letsencrypt/live/example.com/privkey.pem;
            ssl_session_timeout 5m;
            ssl_protocols TLSv1 TLSv1.1 TLSv1.2;
            ssl_prefer_server_ciphers on;
            ssl_ciphers 'EECDH+AESGCM:EDH+AESGCM:AES256+EECDH:AES256+EDH';
    
            location / {
                    try_files \$uri \$uri/ =404;
            }
    }
    
    server {
            listen 443;
            server_name parseapp.example.com;
    
            root /usr/share/nginx/html;
            index index.html index.htm;
    
            ssl on;
            # Use certificate and key provided by Let's Encrypt:
            ssl_certificate /etc/letsencrypt/live/example.com/fullchain.pem;
            ssl_certificate_key /etc/letsencrypt/live/example.com/privkey.pem;
            ssl_session_timeout 5m;
            ssl_protocols TLSv1 TLSv1.1 TLSv1.2;
            ssl_prefer_server_ciphers on;
            ssl_ciphers 'EECDH+AESGCM:EDH+AESGCM:AES256+EECDH:AES256+EDH';
    
            # Pass requests for parseapp.example.com/ to Parse Server instance at localhost:portnumber/parse/
    
            location / {
                    proxy_set_header X-Real-IP \$remote_addr;
                    proxy_set_header X-Forwarded-For \$proxy_add_x_forwarded_for;
                    proxy_set_header X-NginX-Proxy true;
                    proxy_pass http://localhost:portnumber/parse/;
                    proxy_ssl_session_reuse off;
                    proxy_set_header Host \$http_host;
                    proxy_redirect off;
            }
    }
  5. Save and exit
  6. Restart nginx
    sudo service nginx restart

Mini series

  1. Setting up a server at Linode
  2. Install Let’s Encrypt to Create SSL Certificates on Ubuntu
  3. Setting up MongoDB on Ubuntu
  4. Setting up nginx on Ubuntu for parse-server
  5. Setting up parse-server on Ubuntu

Install Let’s Encrypt to Create SSL Certificates on Ubuntu

(Linode: Install Let’s Encrypt to Create SSL Certificates)
[Update 2018 03 06: You might want to look at Certbot]

Before You Begin

  1. Check for updates
    sudo apt-get update && sudo apt-get upgrade
  2. Check if git is installed
    which git
    If not install git
    sudo apt-get install git
    Password
    y
  3. Open a port for Let’s Encrypt
    sudo ufw allow 443
    [Update 2018 03 06: (you might need to allow port 80 as well for some reason)]

Install Let’s Encrypt

  1. Download and install Let’s Encrypt
    sudo git clone https://github.com/letsencrypt/letsencrypt /opt/letsencrypt
  2. Navigate to the new /opt/letsencrypt directory:
    cd /opt/letsencrypt

Create an SSL Certificate

  1. Run Let’s Encrypt including each domain to be covered with a -d
    • sudo -H ./letsencrypt-auto certonly --standalone -d example.com -d www.example.com
    • password
    • a good email address
    • Agree
    • Success!
      IMPORTANT NOTES:
      - Congratulations! Your certificate and chain have been saved at/etc/letsencrypt/live/example.com/fullchain.pem. Your cert will expire on 2017-xx-xx. To obtain a new or tweaked version of this certificate in the future, simply run letsencrypt-auto again. To non-interactively renew *all* of your certificates, run "letsencrypt-auto renew"
      - If you like Certbot, please consider supporting our work by:
      Donating to ISRG / Let's Encrypt:
      https://letsencrypt.org/donate
      Donating to EFF:
      https://eff.org/donate-le
  2. Setup auto renewals of certificates
    • sudo crontab -e
    • First run select nano as editor
    • Add the line to the bottom of the file to run at 02:30 every Monday, pausing nginx to allow access to port 443 as required.
      30 2 * * 1 /opt/letsencrypt/letsencrypt-auto renew --quiet --pre-hook "sudo service nginx stop" --post-hook "sudo service nginx start"
      (I HAVEN’T confirmed this is working yet, but it should be)

Mini series

  1. Setting up a server at Linode
  2. Install Let’s Encrypt to Create SSL Certificates on Ubuntu
  3. Setting up MongoDB on Ubuntu
  4. Setting up nginx on Ubuntu for parse-server
  5. Setting up parse-server on Ubuntu